My son is three this year and this will be his fourth Christmas. I have commemorated each year with a homemade ornament. This year I will also make one for my baby girl's first Christmas. It's a fairly simple process and once you get a hang of the magazine rolling you're on your way! This project took me two hours because I made three, but I could see it taking a
rookie a little bit longer.
Supplies: Magazines (tear out pages with beautiful colors and texture), wallet size photos of your subject of choice (my kids are my fav!), Elmer's glue, hot glue gun, pencil, scissors, glitter (the finer the better), ribbon, thin Sharpie marker, scrap booking paper and painter's tape.
Start by cutting your pictures in half either vertically or horizontally. I do this to get more of the same color that can be used on an ornament. You can choose to use the middle of the paper or the edges.
Put a thin line of Elmer's glue along the edge you want to appear when it is rolled.
Use a pencil as a guide and start rollin'...
and rollin' rollin' and rollin' rollin'... (insert Black Eyed Peas, "Woo-hoo!")
As you get to the edge, smear the glue so that it spreads very close to the edge.
Smoothe the edges and hold a few seconds while the glue sets.
Remove the pencil. I use a second pencil to push the other one out. You will get a hang of the tension needed to be able to remove the pencil- not too tight but not too loose. Practice on your 'unfavorite' color before committing!
Repeat this process until you have a nice collection of rolls you might use.
Lay out the colors you think will work best with your picture.
I use painter's tape (not glue so it doesn't buckle with the moisture) to stick to the cardboard. Rubber cement also works well. The trick to using rubber cement: apply it to both sides of the items you want to glue together. Let it completely dry, then stick it together. It won't budge after that.
Cut your cardboard to the size you need. Nice
Triscuit Thins box! Ghetto fabulous or thrifty? I use the advertisement side up so that the back is less ghetto fabulous.
Start cutting the size pieces you need. Do these individually as your cardboard may not be a perfect square (eh... hem) if you cut anything like me.
Use hot glue to stick your rolls onto the cardboard and frame the picture.
Measure the middle pieces individually as well. I like them to fit snug.
Again glue gun and cut each piece separately.
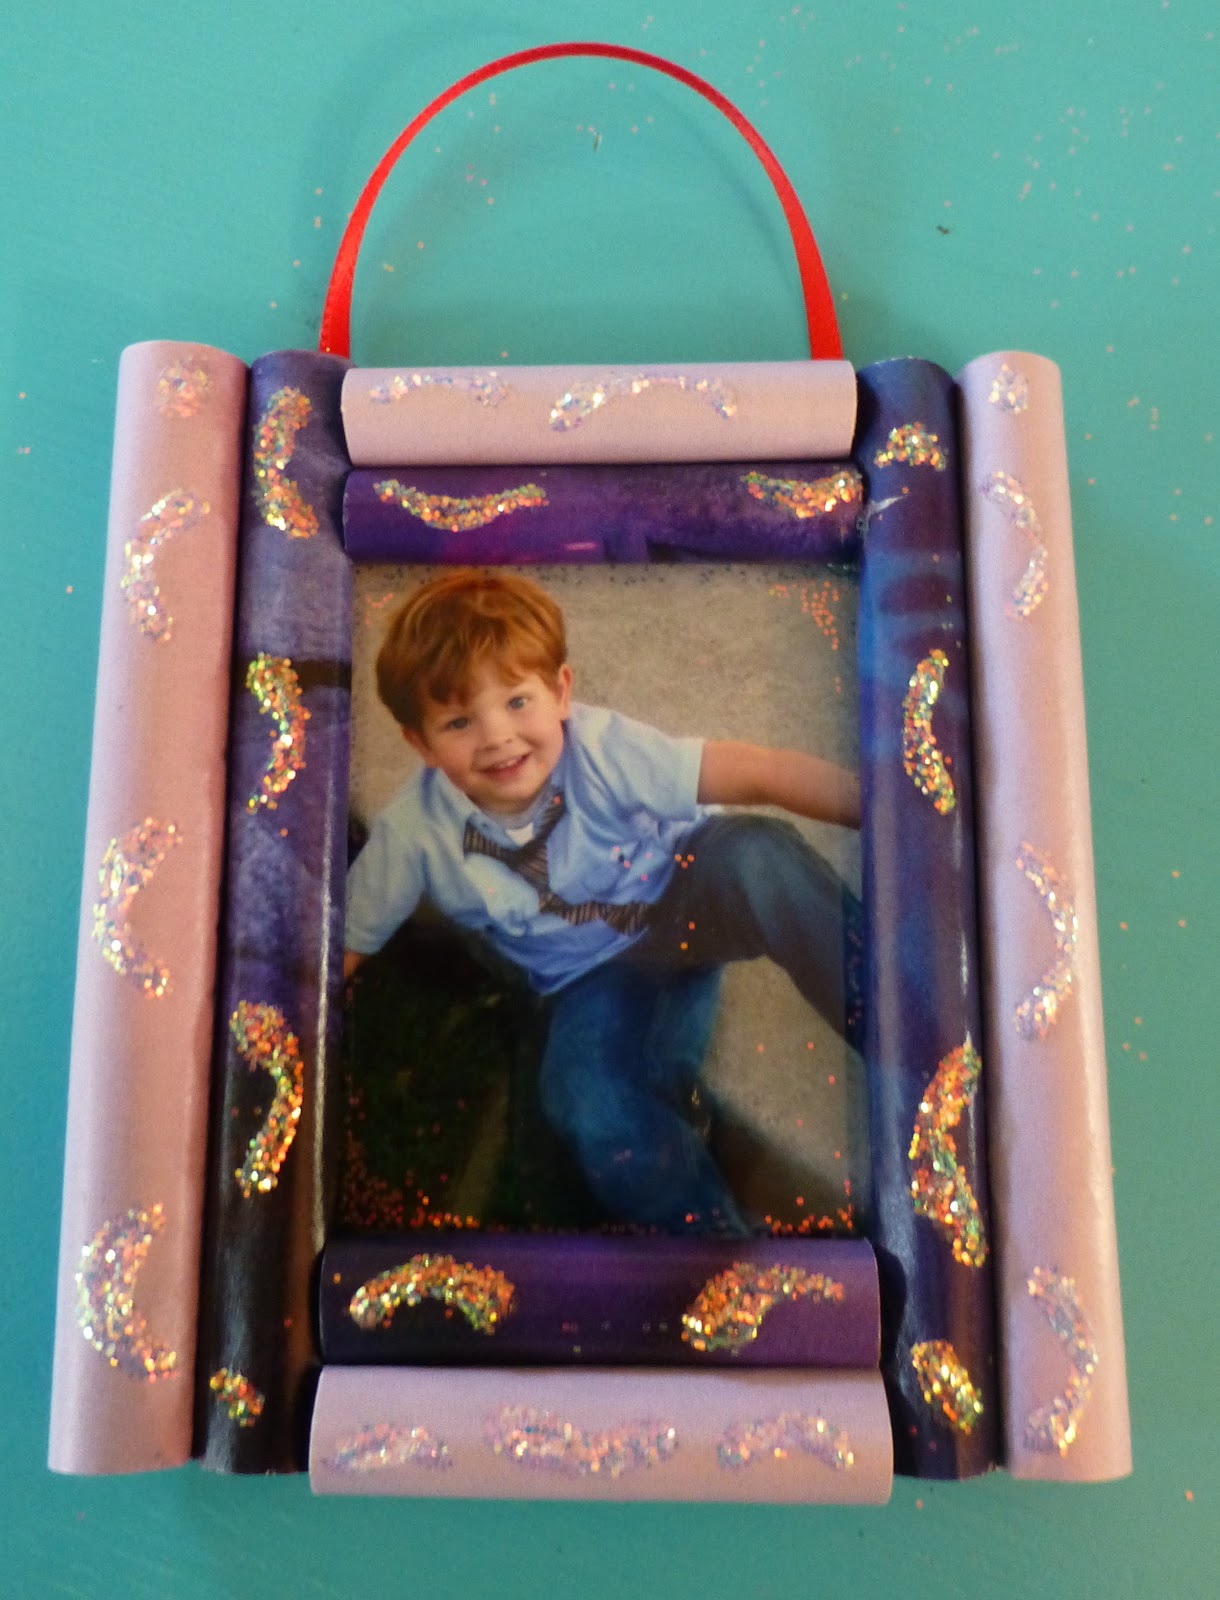
Voila! You are ready to embelish! I do all my glittering in the evening and let it set over night to dry.
Use your glue gun to attach ribbon to the back. I smear the glue with a piece of cardboard right after I apply the ribbon so it is not lumpy.
Write on the back cover before glueing it down so that your handwriting is its best.
Apply Elmer's glue and smear close to edges again.
Glue to back of the ornament and you are finished! (Crowd roars and applause fill the air.)
Admire the work of your hands.


No comments:
Post a Comment